
How to send transactional emails with Resend and Ampt
Sending transactional emails is a must for businesses looking to keep customers engaged. See how to implement Resend with just a few lines of code using Ampt.
 Emrah Samdan
In today's SaaS landscape, transactional emails have become a standard, triggered whenever users perform specific actions like adding an item to their cart, abandoning it, or surpassing subscription limits, to name a few. Being an active member of the JS community, I've been captivated by the buzz around Resend. With a user experience as seamless as Ampt's, I couldn't resist diving in. This article will guide you through a project example where we send an email to fresh sign-ups via Resend. Dive into the sample code here.
Getting started with Resend and Ampt
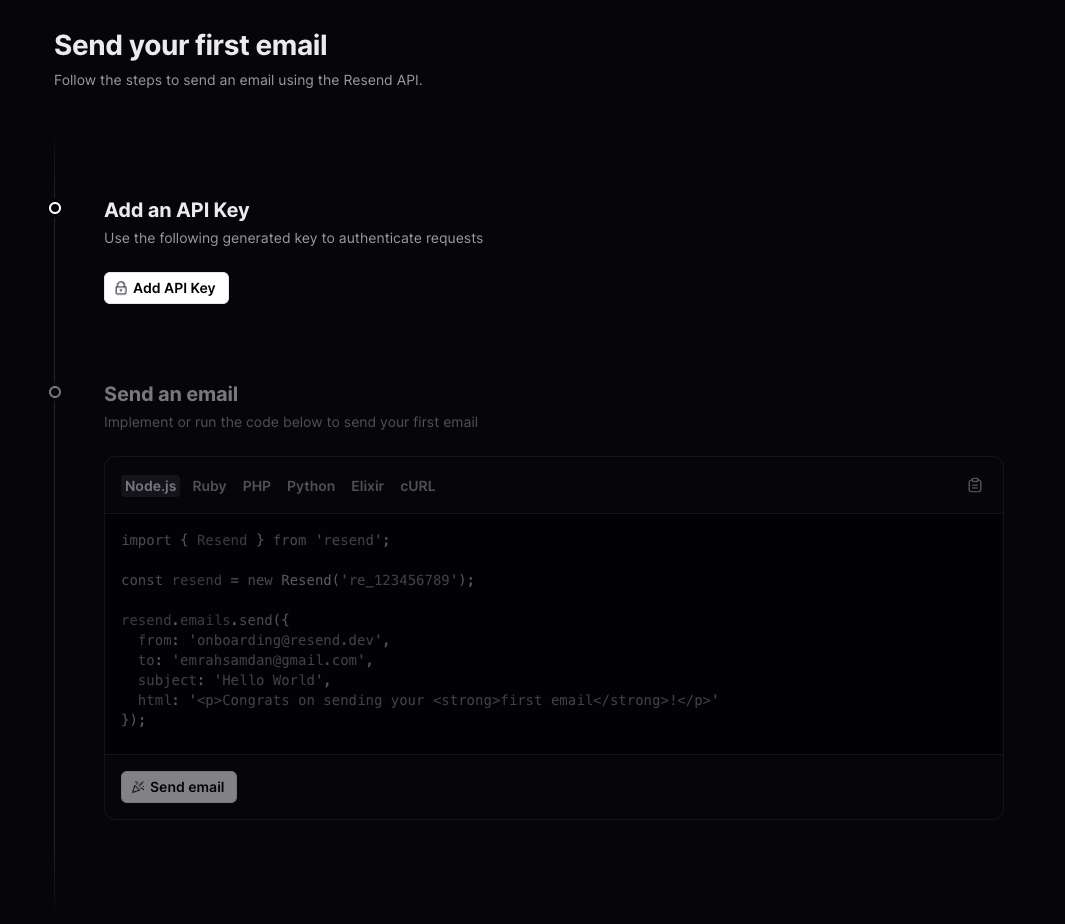
Resend offers a commendable free tier, permitting you to dispatch up to 100 transactional emails daily. Upon registering, you'll be greeted by an onboarding screen prompting you to generate an API Key. Be sure to copy this key—it'll be essential in our upcoming steps.
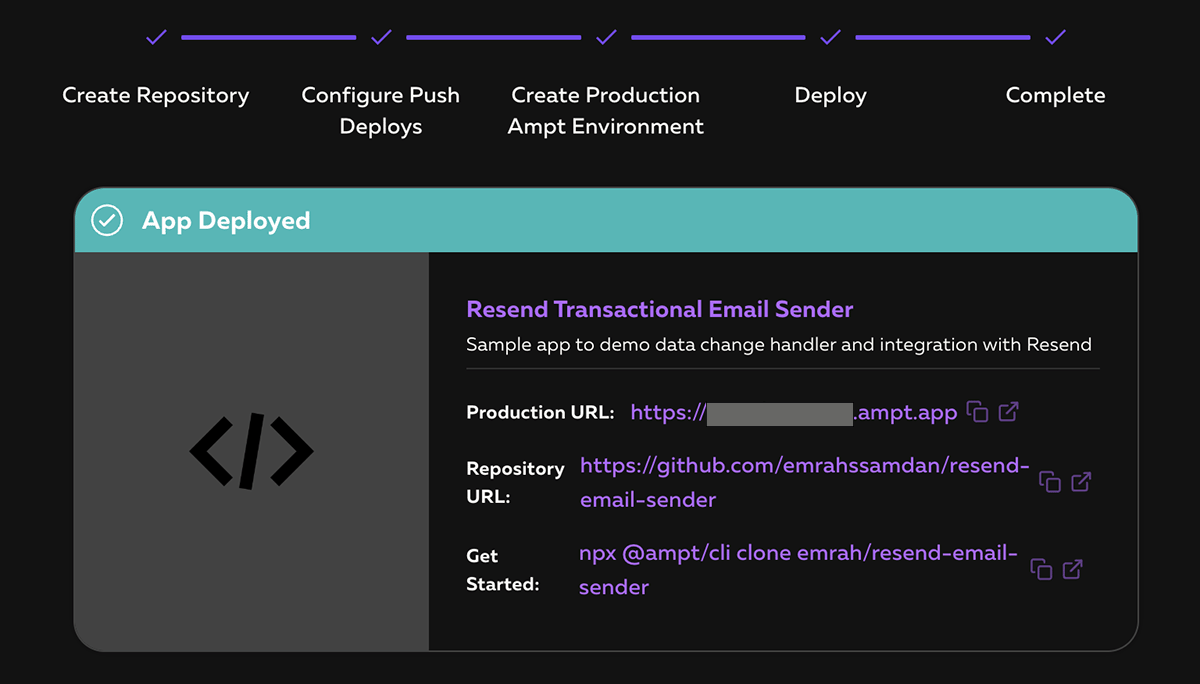
Kickstart your project with Ampt by heading to the project's GitHub repo. Spot and click the "Deploy to Ampt" button. You'll then land on a page to confirm both your GitHub and Ampt app configurations. Choose your GitHub organization and label your repository (it'll default to "resend-email-sender"). Finish off by clicking "Deploy". This process allows Ampt to create a new repository in your GitHub account, initialize a fresh app, establish CI/CD, and launch your app via a live URL.
Your app is nearly set, but a couple of configurations are in order before we delve into the code. First, we need to integrate the Resend API key into your Ampt application. Ampt has a robust parameter store, providing developers a secure vault to save and programmatically retrieve parameters through Ampt SDK's params interface. These parameters are encrypted at rest and during transit.
Parameters at the organization level are applicable across all apps within that organization. However, there's the ability to assign parameters to a specific application or environment. For the scope of this guide, we'll use RESEND_API_KEY for our "resend-email-sender" application across all its environments. For more information about parameters, refer to the docs.

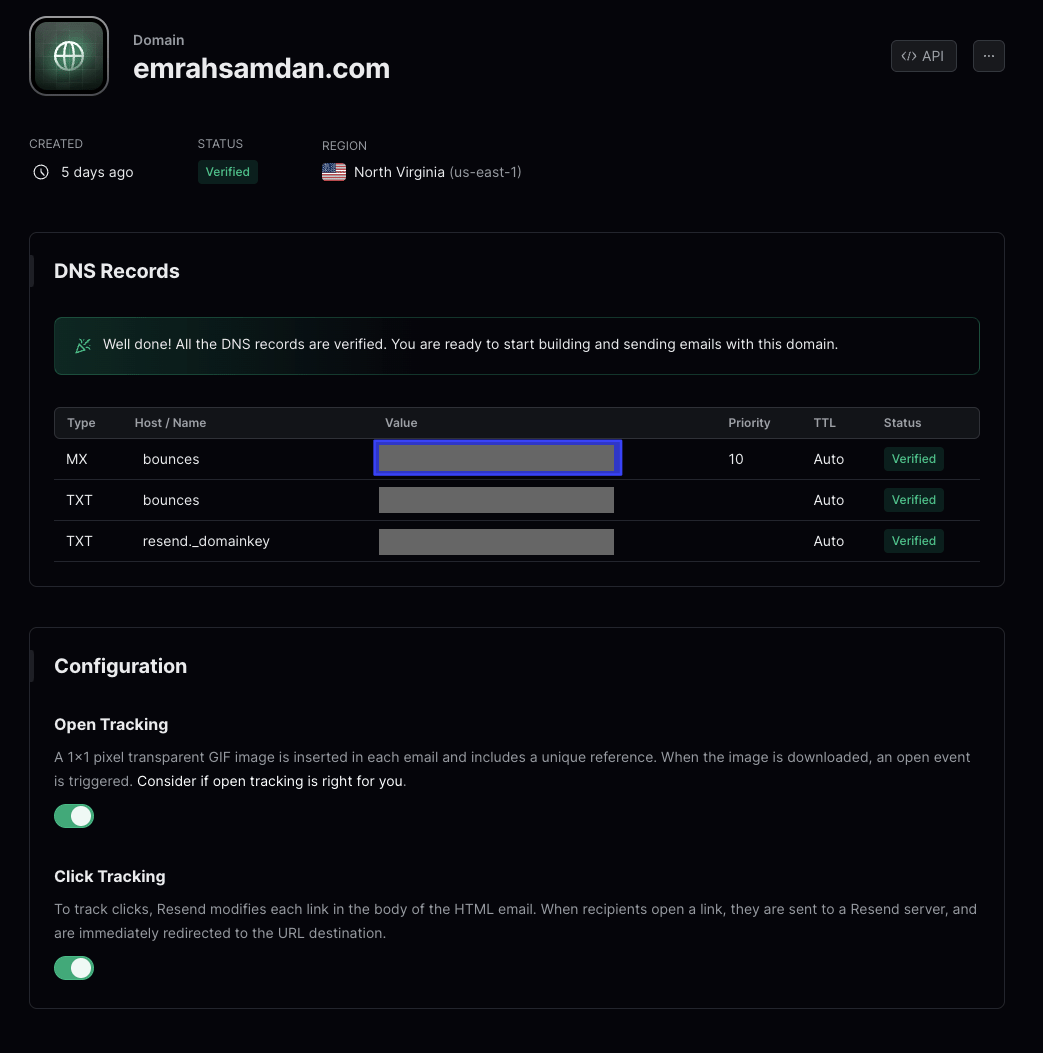
The next step involves configuring your domain on Resend. While Resend enables you to dispatch test emails to your sign up email, it's essential to add your domain so you can send emails to anyone. This can be easily achieved by adding a few records to your domain registrar. Check out the Resend documentation for a step-by-step explanation. Below is a screenshot from my Resend dashboard. Once your domain is integrated, you're automatically equipped with open and click tracking for your emails.
After you set up your domain, you can decide which address to use for sending emails. I've defined it as a parameter on the Ampt Dashboard rather than hard coding it. If you ever want to change your sender email, you can just update the parameter and the new emails will be sent from that address. No need to restart the app since parameter changes in Ampt are updated in real time.
Diving into the Code
Let's dive into the code to understand how we handle user sign-ups for our fictional startup, then welcome them with an email via Resend. Below, we're creating our “/signup” endpoint with Express.js, a common choice among Node.js developers for API development. Seamlessly integrating it with Ampt is a breeze, thanks to the http interface of the Ampt SDK. I've chosen to dispatch the welcome email asynchronously after the user signs up. This ensures that even if Resend encounters a hiccup, our service remains resilient. While our API endpoint is used to handle storing user registrations to the database, the email sender will be called in a data change listener that we'll discuss in a minute.
javascriptimport { http, params } from '@ampt/sdk'; import express, { Router } from 'express'; const app = express(); app.use(express.json()); const api = Router(); api.post('/signup', async (req, res) => { const { email, firstName, lastName } = req.body || {}; const result = data.set(`user_${email}`, { email, firstName, lastName, }); return res.status(200).send({ body: req.body, message: 'Signup successful!', }); }); app.use('/api', api); http.node.use(app);
The code below shows how to define a data listener that kicks off an asynchronous process whenever a new user signs up. Notice that the data listener uses the created:user_* filter. You can configure as many data handlers as you want for "created," "updated," or "deleted" event types. Ampt will even retry the failed events over a 24-hour period using exponential backoff. For more information about data events, check out the docs.
javascriptdata.on('created:user_*', async (event) => { const record = event.item.value; resend.emails.send({ from: params('SENDER_EMAIL'), to: record.email, subject: 'Hello ' + record.firstName + ' with Resend!', html: '<p>Welcome to my tiny SaaS <strong>' + record.firstName + ' ' + record.lastName + '</strong>!</p>', }); });
That's it! You just sent transactional emails with only a couple lines of code. You can check out the Resend Dashboard to see logs about email delivery.

But what happens if your emails hit a snag and don't reach their destination? Resend comes to the rescue with webhooks tailored for email events, letting you create custom actions based on the email's status. To use this feature, simply create a webhook on the Resend Dashboard and pick the events that you want to send. For a more detailed walkthrough, check out the Resend docs.
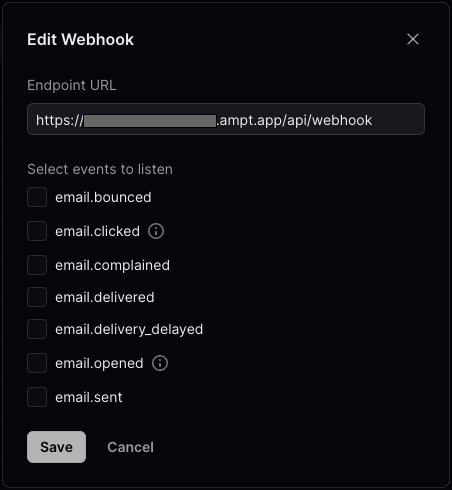
As you can see in the screenshot above, Resend requires an additional endpoint to handle webhook events. We can easily create a new endpoint in our app by adding another route to Express. Here we create some basic logic that says if an email bounces, that user should be deleted from our records. The code below shows how easy it is to handle scenarios like this using Ampt.
javascriptapi.post('/webhook', async (req, res) => { const payload = req.body || {}; if (payload.type == 'email.bounced') { payload.data.to.forEach((element) => { data.remove('user_' + element); }); } return res.status(200).send({ message: 'Webhook handled!', }); });
Publishing changes to production is a breeze. Simply commit (or merge) your changes to the main branch, and voilà! Ampt's integrated CI/CD swiftly recognizes new commits, builds your application, and deploys to your production environment. Want a temporary preview environment before you go live? Just create a PR against the main branch (or any chosen target branch) and your preview environment is automatically created. Subsequent commits to this PR will redeploy to your preview environment. Read more about Ampt environments in the docs. Every new environment on Ampt gets a unique URL, so you'll need to create another webhook for your production and preview environments.
Wrapping Up
We now have an event-driven app that sends transactional emails with Resend using API endpoints and a data listener. There are hundreds of ways to improve this workflow—we'll let you explore that on your own.
Be sure to join our vibrant community on Discord and sign up to start building now with Ampt!